Showing posts with label Let's Get Sketchy. Show all posts

Sunday, February 15, 2015

Me & My Hundred Acre Woods Friends

Happy Sunday evening my scrappy friends.  I'm excited to share a layout today that I created using a some of my stash.  Now, let me tell you about my stash.  I have a problem.  I have a **VERY BIG** paper hoarding problem...ahem.  And I know I'm not the only one, but when the copyright year on the barcode strip of your paper is from 4 years ago, you know it's bad.  I have paper even older than that, but I digress!

Today I'm using a sketch from Let's Get Sketchy February Week 1.  In addition, I'm doing the Scrap Our Stash February stash challenge for WASHI -> my layout has: wooden embellishment, alpha stickers, splatter stamp, Hello Fall paper, and ink.  


This was such a FUN layout for me - I got to meet my very favorite characters in the whole world last Thanksgiving!  But with all the colors in the photo - including my purple shirt - I was having a tough time figuring out what papers to use.  Enter Little Yellow Bicycle's "Hello Fall" from 2011!


I only had about 5 sheets of paper from this collection and none of the embellishments.  So I decided to pull out my Silhouette PixScan mat to cut the flower/doilies from the middle of one of the papers.  If you don't have this mat, I highly recommend you get one!  It lets you cut out patterns, stamped images, and more.  Don't get me wrong, I don't mind fussycutting sometimes, but this can be a real time saver -- and paper saver, too!  (And if you are looking for help calibrating your mat, I have a tutorial that may help.)  

To start, I decided to flip the sketch.  My base paper has a built-in green strip, but I trimmed a strip from the leaf paper to adhere next to it on the right side of my layout.  Then I sewed along the left side of the strip.


I matted my photo with the green side of one of the papers, inked the edge in dark purple, then matted it again with the orange side of one of the papers (also inked).  I included a tab to highlight the date.  Then I included an embellishment cluster below the photo in line with the sketch.

I wanted to stamp the splatters using the Tim Holtz Spills & Splatters stamp (I trimmed the splatter area next to the cup rings to use separately).  So I put the photo area and the flower/doilies where I knew they'd be and stamped near each doily.  Then I adhered everything to my page to create my title.  I chose Simple Stories Sn@p! Studio Typeset alphas for "acre" and "woods" and stamped "hundred and "#friends" using my oldie-but-goodie Close To My Heart Solo Alpha sets.  I cut "me & my" using my cameo, and popped up the ampersand using 3D tape (hence the pesky shadow...one of these days I will learn how to fix this using Photoshop Elements!).  The doily on the left is also popped up.


After adding some gems, I finished the layout with a small journaling spot to show how special Pooh Bear and Tigger are to me.


I hope you enjoyed my layout today, and I hope it inspires you to reach into your stash - you just may not know what serendipitous goodies you will find!

In the famous words of Tigger, "T.T.F.N.....ta ta for now!
Majken

Monday, August 18, 2014

So Very Loved

Happy Monday everyone!  

I blinked and half of August was GONE.  Not sure where it went...if you find it, can you please let me know??  My daughter starts 7th grade -- 7th GRADE!!! Yikes! -- and my son begins his adventure in Kindergarten in one short week.  

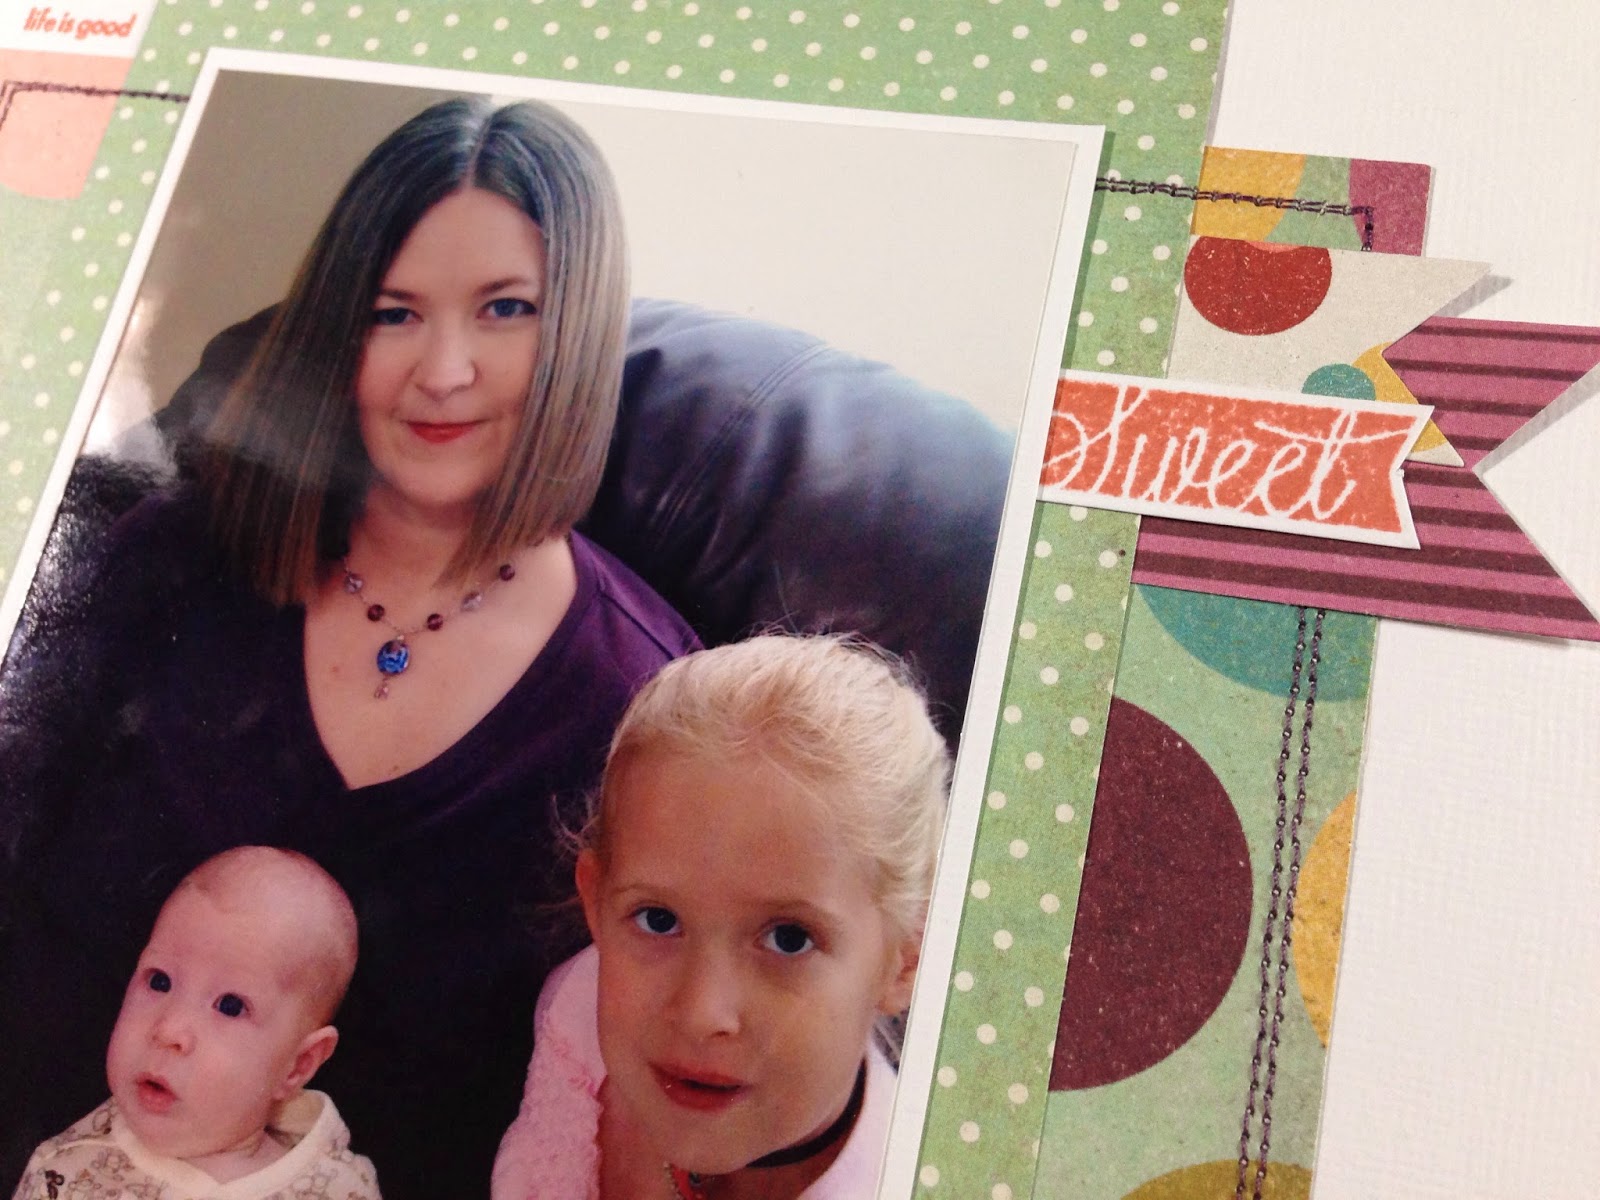
So...it was extra wonderful to find and scrap the photo of me with them over 5 years ago that I'm about to share with you.


I purposely left a lot of white space on this layout...every time I tried adding something, it just cluttered it and didn't work.  This layout is based on a sketch by Brenshevia with Let's Get Sketchy:


I started with a base of textured white cardstock and chose the Basic Grey RSVP collection to bring in the purple, pink, and yellow we are wearing in the photo.  I love this paper...but I'm super-biased towards purple.  It's my happy color!!

I chose the papers that would trim the slanted header first, and then I planned out the papers to mat my photo.  I adhered the header papers first (flipped from the sketch) and included a sewn embellishment to top it (the banner is from the RSVP collection and the scalloped one with the 3D heart I made myself):


Once I had the header down, I put the photo mat papers down and double-sewed around the edges with purple thread.  I matted my photo with textured white cardstock and adhered my photo over the sewn mat.


I decided to add some banners around my photo to add some dimension.  Finally, I created my title using Basic Grey stickers for the "so" and my Cameo for the "loved".  I used the Mama Elephant Inline Letters dies for the "VERY".  I wanted "VERY" to have dimension as well, so I die cut 4 "VERY"s in white cardstock and glued them together to create a chipboard look.  Then I cut the VERY using the dark green paper from RSVP and glued it on top.  


And then I added my journaling, a little heart, and a few gems!

I hope you liked this layout and get a chance to create based on this sketch...if you do, I'd love you to share it with me in the comments.

Have a great week!  Chocolate hugs,
Majken