Showing posts with label My Scraps and More. Show all posts

Thursday, January 29, 2015

Hey, Santa - I've Been Good! Scrapping Our Stash Blog Hop with Giveaway

Hey you guys!  I'm not sure where January went, but I think it went and hopped into the past with December and November!  I went to my niece's wedding mid-January (so beautiful!), then this week I was in California for work -- buh-bye, January!  

And speaking of hops, we're back in business doing another Scrapping Our Stash blog hop.  You should have arrived here from Jennifer's blog.  She's got some lovely work to share using Basic Grey! Today I will share a layout using some of my Simple Stories Cozy Christmas stash (released last summer) using sketch 97 from the My Scraps & More sketch blog.  Take a look then scroll down to see how you can win a gift card to the My Scraps & More store and then hop a final time to complete the hop!


I adore this plaid from the collection, so I cut a frame out of it so I could use the middle for another project.  I placed the frame onto off white cardstock and then created the two layered photo areas, pretty well keeping to Audrey's sketch.  The top left has a pocket element that I used to start the layout's title.


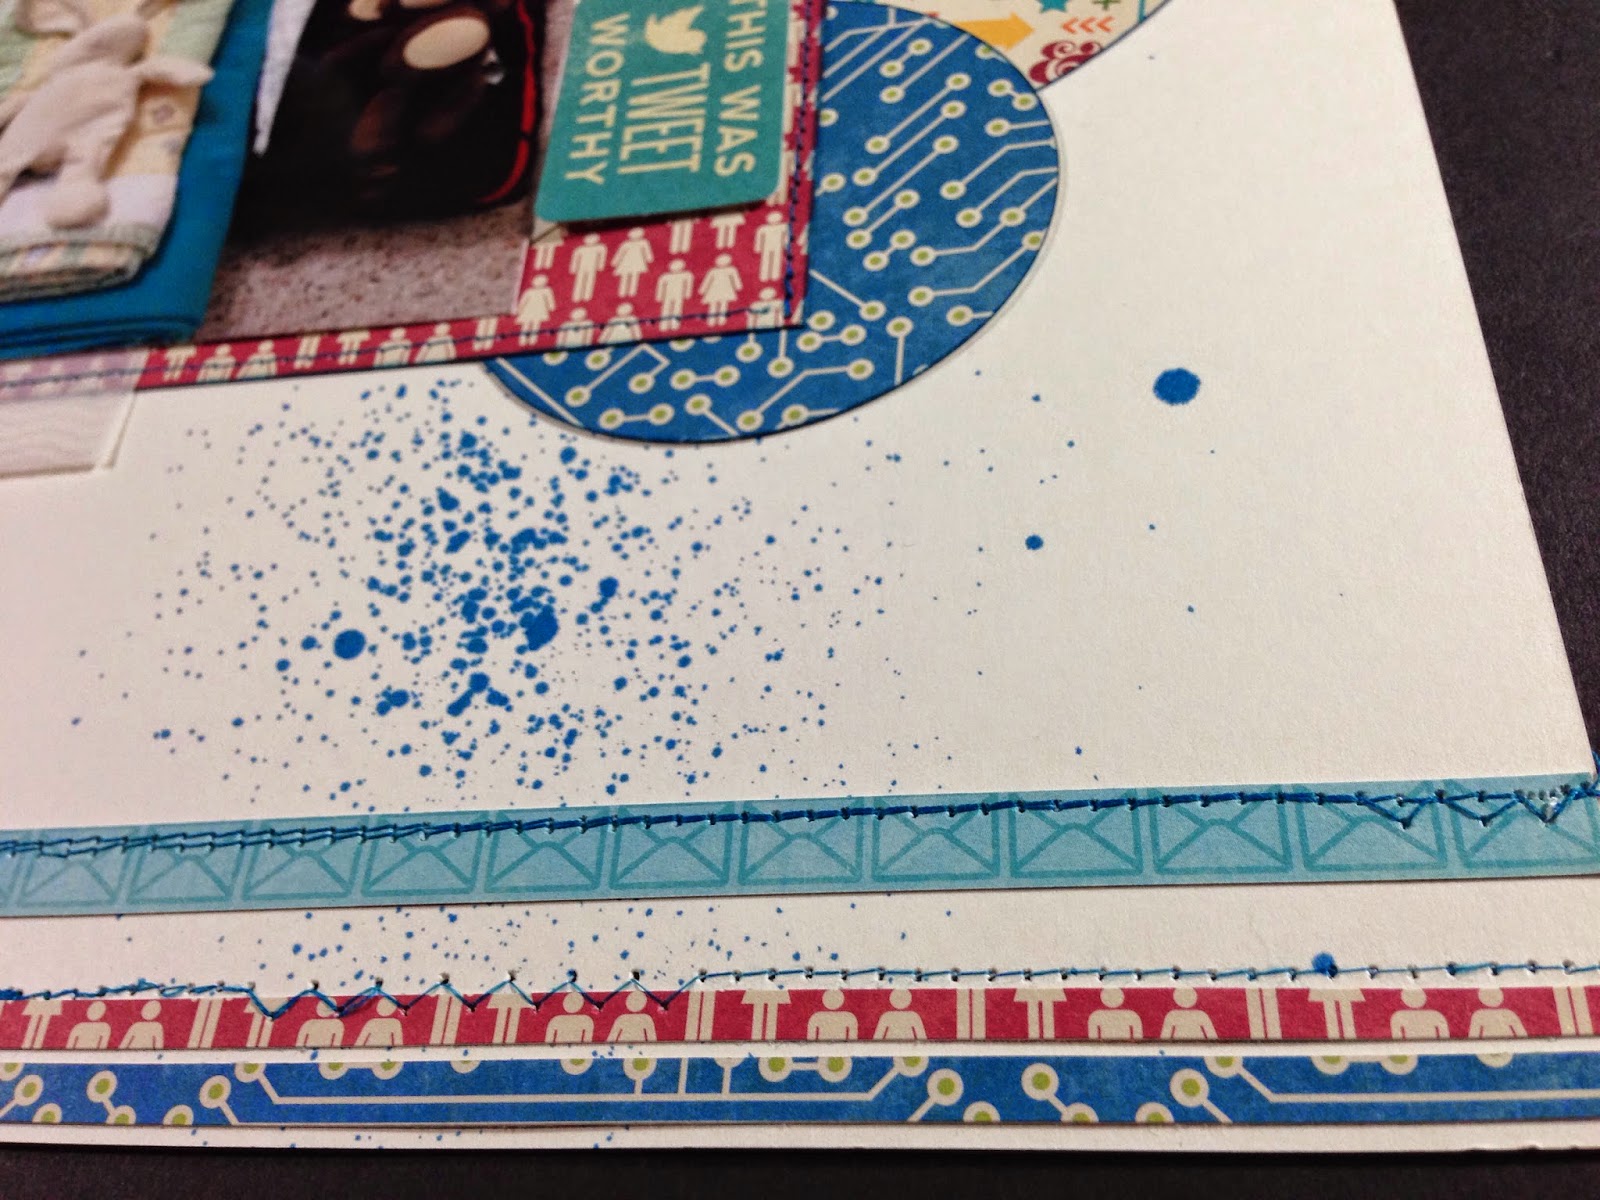
I layered the brown woodgrain paper, the holly paper, the pocket card, and the matted photo (which is popped up with 3D tape).  I sewed along the top left diagonal to add texture and interest.


I did a similar layering for the bottom right photo area and duplicated the diagonal stitching.  I used some of the stickers from Cozy around the entire layout (including the banner that hangs in the top right) and added a few red gems as well.


For the rest of the title, I used alpha stickers from Cozy, and then I added journaling strips to each photo area.  It came together quickly!


****Giveaway Time!****

I'm giving away one $15 e-gift certificate to My Scraps & More.  All you have to do is:

  • Be or become a member of my blog with Google Friend Connect or Bloglovin AND
  • Leave a comment on this blog post
You can share this post on Facebook or Twitter or refer a friend who joins my blog for an extra chance at the prize (please note the action you've taken in a 2nd comment or have the referral tell who referred them in a comment on this post).

Easy peasy!  You have until Monday, Feb. 2nd at noon Central time to enter for your chance to win.  International entries are fine, and I use random.com to choose the winner.  I'll announce the winner here on my blog on Tuesday, Feb. 3rd.  Good luck!  Thanks for hopping along with us.

Now head over to Kim's blog for the final, crafty treat (a 2-page layout)!

Have a super weekend!
Majken

To start at the beginning or if you get lost, head to Cathy's blog.

Sunday, November 16, 2014

Two Peas

Hello scrappy friends!

I love to use sketches for my layouts, or at least get inspiration from them if I'm stuck. Today I'm sharing a layout using the My Scraps & More Sketch #93 created by Audrey Yeager.  I love her work!  Here's a look at the sketch:


And here's my take on it showing my sweet kids sitting on a caterpillar at the Houston Butterfly Center earlier this year.  We had so much fun!


I mostly used the BasicGrey Vivienne collection.  Everything about this collection makes me happy: the colors, the patterns, the ephemera, the adorable chipboard circle alphas -- all of it!  You may recognize the collection from my updated blog header.  :)  And I know I'll be using this a lot more, including some cards soon!

I stuck pretty close to the sketch, starting with the chevron patterned paper that I fussycut into the pinking pattern.  I also sewed along the pattern to highlight the chevrons, which you can see below along with a journaling spot and some flower embellishments.


For the photo area, I also messy-sewed along the side to create some additional interest and added a couple of sequins.


Finally, I used the circle chipboard alphas to create my title, "Two Peas".  This is a play on words for me because their names both start with the letter "P".  I almost used "Two Ps", but it wasn't going to work for the layout.


Do you like to use sketches, and what is your favorite way to use them?   

Thanks for visiting, and I'd love to read your comments! Stay warm with some hot chocolate today, my friends!

Majken


Friday, November 7, 2014

Cherish This

Hi everyone!  I'm so excited it's Friday.  We've fallen back, there's a feeling of winter in the air (even in Texas), and doesn't the time just go so quickly?  I found a couple of photos from Easter last year that I hadn't yet scrapped, and decided they would work well with the My Scraps & More Sketch #92.  Alas, I finished it on Nov. 1st so I didn't get my link in before the deadline, but such is life.  :)

Here's my layout:


And here is the sketch by Tracy Rhodes:


This was one tough layout to photograph!  The foam stickers that make the title kept throwing shadows and the die cut transparencies reflect the light.  I did the best I could!  I love, LOVE, L-O-V-E the Basic Grey Highline collection.  It's so vibrant!  It's certainly not a collection that screams "Easter", but it worked really well for my two photos.  :)

I started off with textured white cardstock from American Crafts and splattered a mix of two Heidi Swapp Color Shines, black Glitter Mist, and my own homemade ink mixing red and orange reinkers.  Next I created the bottom border area mixing a couple of the patterned paper from Highline.  To help it stand out, I added black machine stitching.


Next I chose the paper to mat my photos and inked the edges with black ink.  Once I had the placement right, I adhered the back middle square and stitched around it just past where I knew the photos would cover it.  Here's what it looked like before I added the matted photos:


Here's a close-up of the photo area with a foam heart sticker from the Amy Tangerine Plus One Twins Thickers.  I backed the heart with contrasting paper to help it pop even more.


The title came together quickly, inspired by the Thickers!


And the top left corner seemed a little bare to me, so I added a triangle corner and stitched along the long side.  And I knew I had to use the "Love this" transparency!  So I added it and stitched along the top and bottom there, too.  I love how the splatters show through!


I hope you are inspired by the bold - it's okay to scrap non-Thanksgiving, non-autumn, or non-Christmas things even in November!

Here's another layout using Highline for more inspiration.

Make it a chocolaty, happy, scrappy day!

Majken

Tuesday, July 15, 2014

Life is Good

Hey there everyone!  Happy Tuesday.  Is time flying for you like it is for me?  Part of me really wants the structure of the school year back, and part of me wants summer to stay. Then there's my son, who can't stop singing Christmas songs.  It's our own personal Christmas in July.  ;)

Today I'd like to share a layout I created about the three most important people in my life.  To capture my sweet and crazy family, I'm using the Fancy Pants Designs Burlap & Bouquets.  I had to have this collection as soon as I saw the sneak peaks!  These colors with the burlap just caught my eye.  I also wanted to use the My Scraps & More Sketch #86, and I put a circular twist on it.  Here's my layout:


Here is the sketch:


I made the focal area larger and circular and switched the photo and journaling areas. To start, I used black cardstock as my base and Colonial White on top of that, inking the edge with CTMH Juniper ink.  I fussycut the floral wreath from the "Floral Wreath" paper and positioned it to see where I wanted my sewn circles to go.  I sketched my circle lightly in pencil and then sewed circles using black and green thread.


Next, I played with the papers to see what I felt worked best.  I ended up using the bokeh paper on the bottom, then the dark pink "maze" looking pattern, the burlap pattern, and the green pattern.  I inked the edges of the bokeh paper and distressed the dark pink maze pattern for depth and texture.

Next, I decided to create some flowers of my own to complement the wreath.  I cut different sizes of scallop circles and flowers with my Big Kick, punches, and Cricut.  These distressed flowers are fun and easy to make!  I spritzed each with Pearl Glimmer Mist to moisten and give them a little shimmer.  I crumpled them up and then uncrumpled them.  Next, I layered them to get the effect I wanted and pierced each with a coordinating brad.  You can see one of my distressed flowers above the journal area:


To finish my layout, I included two banners using the gold paper to follow the sketch, tucked in a small decorative tag (which I replaced the original white string of with a piece of burlap string!), some label stickers (including the "Life is Good" title and the very cool Walt Whitman quote sticker on the top left of my layout), and sticker fundamentals.


I really am pleased with the way it all "turned out" (pardon the circle pun!), and I hope you do too!

I love comments and new followers, so I'd love to hear how you have turned a sketch circular.  

I hope you have a fabulous week!  

Chocolaty hugs,
Majken

Saturday, June 28, 2014

#favoritebabies - MSAM Sketch 84

*** Go here if you are looking for my layout for the Practical Scrappers June Blog Hop. ***


Hi everyone!

I have lots to share with you in what is remaining in June (Not much! Where did it go??), so I wanted to post this cute layout I created using Jillibean Soup's Spicy Social Soup collection (love the colors!) and MSAM Sketch #84.  I really love how it turned out!

My kids both have a favorite "baby" they travel with.  Presley has Sunny Bunny, which was a baby shower gift (and used to be a creamy light yellow color), and Paxton has Guy Monkey, also a baby shower gift.  I snapped a quick photo of them one time when we were packing for a road trip about a year and half ago.


Here is the My Scraps & More sketch:


I first misted a page of CTMH Colonial White cardstock in a few places.  I next cut three circles using the Jillibean Soup papers, and inked the edges using CTMH Pacifica ink.


I decided on the red people paper for the photo mat, which I also inked.  I layed out the circles, the mat, and used the pie chart circle from the tags for interest, and then sewed around the inside edge of the red photo mat.

I used some Studio Calico Darling Dear chevron vellum (love that stuff!) for visual interest.  I cut a couple of banners and tucked them behind the photo, and used the "Love this" arrow from the tags.


I adhered the photo to the mat, leaving the right side open for my journal tag (I used the "This was Tweet worthy" tag), which you can see peeking out here:


Next, I trimmed a few thin strips for the bottom, and sewed along two of them.


Finally, I cut a title using my Cameo, and opted to include an embellishment group on the top left of the layout:


How have you used this social collection in your scrapbooking or other papercrafts?  I'd love to see what you've created!  I would love to get your feedback and comments.  :)

Thanks so much...have a super, weekend!

Majken

Sunday, May 25, 2014

{Oh Baby} - CMS and MSAM challenges

Hi everyone!  Popping in today to post a layout I created for the Color Me Scrappy challenge #61 and My Scraps & More sketch #80.  When I saw the CMS color scheme, I knew I had to use it...my absolute favorite color is purple, and I don't get to use it often since it's not usually part of collections these days.  <Insert sad face>

But I pulled out a Basic Gray collection called Kioshi!  Here's my chunky monkey at 5 months old:


Here's the sketch:


And here's the color scheme:


I followed the sketch pretty closely except I only had one photo to use.  The base is CTMH Smokey Plum.  I used the Basic Gray Kioshi collection, apiece of vellum to mat my photo, some CTMH Grey Wool CS, and some light green Bazzill textured cardstock.  


I inked the edges of the pieces using CTMH Smokey Plum and Slate ink.  I machine stitched using gray thread on the Smokey Plum cardstock and purple thread on the flower pattern strip as well as the top right corner of the polka dot piece.


I was lucky to find this cut file that had a flower that matched the flower on the paper.  I used my Cameo to cut several sizes of the flower from different matching papers to put on the top left and bottom right of the layout.


For the title, I used white chipboard letters for the "OH" and cut the banner and "baby" using my Cricut Imagine and the CTMH Art Philosophy cartridge.  I topped the banner with light green tabs which I stapled on with my Tim Holtz Tiny Attacher (*love* that thing).


I used Hero Arts Pearls & Gems for the flower centers, and journaled using an opaque white pen.

I hope you like my rendition of these challenges...see you soon!

Majken

Saturday, May 3, 2014

Summer Kickoff Layout

Happy weekend everyone!  I'm participating in the My Scraps & More April Sketchathon - they had a sketch a day all month long!  I wanted to do even more (where does the time go??), but I have a third MSAM Sketchathon layout to share with you today (sketch #6).  Almost a year ago to celebrate Memorial Day, we went to Splashway, a local water park.  We had so much fun with the kids and my daughter's friend who joined us.  I'm looking forward to summer!  Here's my take on the sketch.


I had three photos that I wanted to capture which fits the sketch nicely:


And the twist is to use one of the words/phrases that were given.  I chose "right now", which you can see on the bottom right of the photo area.


The first thing I noticed when I pulled the photos together were the colors.  Such nice, summery colors!  The paper I gravitated to was the Dear Lizzy Day Dreamer.  I used "Dodge Ball" as the main area behind the photos.  I decided to bring in more black...so that is my main "canvas".  I also decided on a MME Now & Then "Izzy, Smile Bloom" because the green matched so nicely...and I felt the smaller polka dots complemented the large circles on the Dear Lizzy paper.

I trimmed the MME paper slightly and then stitched a thin line as a border, creating zig zag stitching around the top left and bottom right corners.

I created the border underneath the photos by trimming the scallops in the Dear Lizzy Day Dreamer "Flying Kites" paper and a thin strip of black cardstock.  I cut six chevrons from the back side of the Dear Lizzy paper and stitched in black through the border.

For the title area, I used black Fancy Pants alpha letters for "summer" and used my Cameo to cut out "kickoff".  Strips of the scallop negative and the Dodge ball paper were used to frame the title and provide a base for the journal spot.


To finish the layout, I punched confetti from the Dodge ball paper, used a corner of the same paper in the bottom right to anchor, and used stickers to spell "FUN" on the top left.


I hope your weekend is fabulous and full of scrappy time...and chocolate, of course!

Enjoy,
Majken


Friday, April 11, 2014

Amazing * Wild * Rad

Hello everyone!

I'm back for two in a row - woohoo!  I recently completed a layout of my son's visit to the park using a sketch #75 from My Scraps & More.  As soon as I saw Bella Blvd's Max collection, I HAD to have it for my son.  It has camouflage, sharks, skulls and crossbones, and more.  And my son adores his camouflage shorts.  Like, seriously.  The other thing he adores?  His cowboy boots that recently *fell apart* because he wore them so much.  Here's my Amazing-Wild-Rad boy:


It's based off this MSAM sketch:


The grid is so cool!  As soon as I saw the sketch and looked through the Max papers, I knew the black paper with the words was going to be part of the grid and my title.  I cut out the Amazing Wild Rad section and paired it with a camouflage strip to be the other part of my grid divider.  After trimming to create arrows, I stitched along the middle in orange thread.

I had three photos, so I trimmed them and left the bottom left square as an embellishment using the star patterned paper.  I inked the square in Sunset ink and doodled along the inside edge.  I covered a chipboard star in the speech bubble paper to give more dimension.  I stamped "a good day" in Olive ink underneath and adhered some stars to the bottom left side of the square.


The top left of the grid uses the striped paper that I cut a frame from.  I inked along the inside edge of the frame to help define the photo and adhered a green star from the Max sticker sheet on the bump of the frame.  I included a black button with orange twine in the center of the star.  Next, I stamped arrows in Olive ink to the left of the photo.  I cut a square from the speech bubble paper and cut diagonally in half to use as a corner, then stitched the edge.


The photo in the top right section of the grid was inked with black Stazon along the edges for definition and layered on the orange guitar paper.  I glued a wooden arrow, the "i do love you" tab, the phrase sticker, and two stars to embellish this section.


The photo in the final section, the bottom right grid, was also outlined in black Stazon ink and matted with the blue chevron paper.  I inked the edges of the "#AWESOME" sticker and put that above arrows stamped with Sunset ink.  My journaling is below this photo.


Simple yet detailed is how I'd describe this sketch and layout.  I had so much fun creating it, and I can't wait to use more MSAM sketches!  They put out a few each month, so don't forget to check them out, use them, and link them up yourself!

Have a super weekend everyone!

Majken