Showing posts with label misting. Show all posts

Friday, April 25, 2014

On Trend: Bokeh

***Go here if you are looking for the April Practical Scrappers blog hop with GIVEAWAY.***

-----

Hello and happy Friday everyone!  I get a little twinkle in my eye - a little pep in my step - when Friday rolls around!  It always seems a little bit festive, even at work.  :)  

Today I have a project to showcase the Bokeh trend.  If you aren't sure what "bokeh" is, let's fix that!  Bokeh is a Japanese word that translates literally as "blur" and means "the visual quality of the out-of-focus areas of a photographic image, especially as rendered by a particular lens."  That effect you see when you take photos of your Christmas tree lights? That is bokeh.  Today I'll show you a quick way you can create that effect on paper -- no lens required!  So fun!


You will need only a few simple tools!

Paper
Circle punches, various sizes
Vellum
Spray Ink

For this layout, I used the Basic Grey "RSVP" collection to create a layout about "Ten Things I Love".  (I love this collection...did you see my Cutie Pie layout using it?) I don't normally focus on myself, but I want to make sure some things about me are documented with my family's memories. 

I took a blank piece of Colonial White cardstock and trimmed it 1/2" on each side, layering it on top of purple cardstock.  I cut several circles in a few different sizes using Colonial White cardstock, patterned paper, and vellum.  I put the cardstock circles around the page in various places -- I overlapped some of them -- and spritzed with sunflower ink. After it dried, I moved the circles around and spritzed again with Juniper ink.  I repeated the process and spritzed last using Pansy Purple ink.  This gave me the base layer of spritzed circles.  Then I layered the spritzed cardstock circles and the vellum and patterned paper circles around the base page, popping a few up slightly with glue dots. 


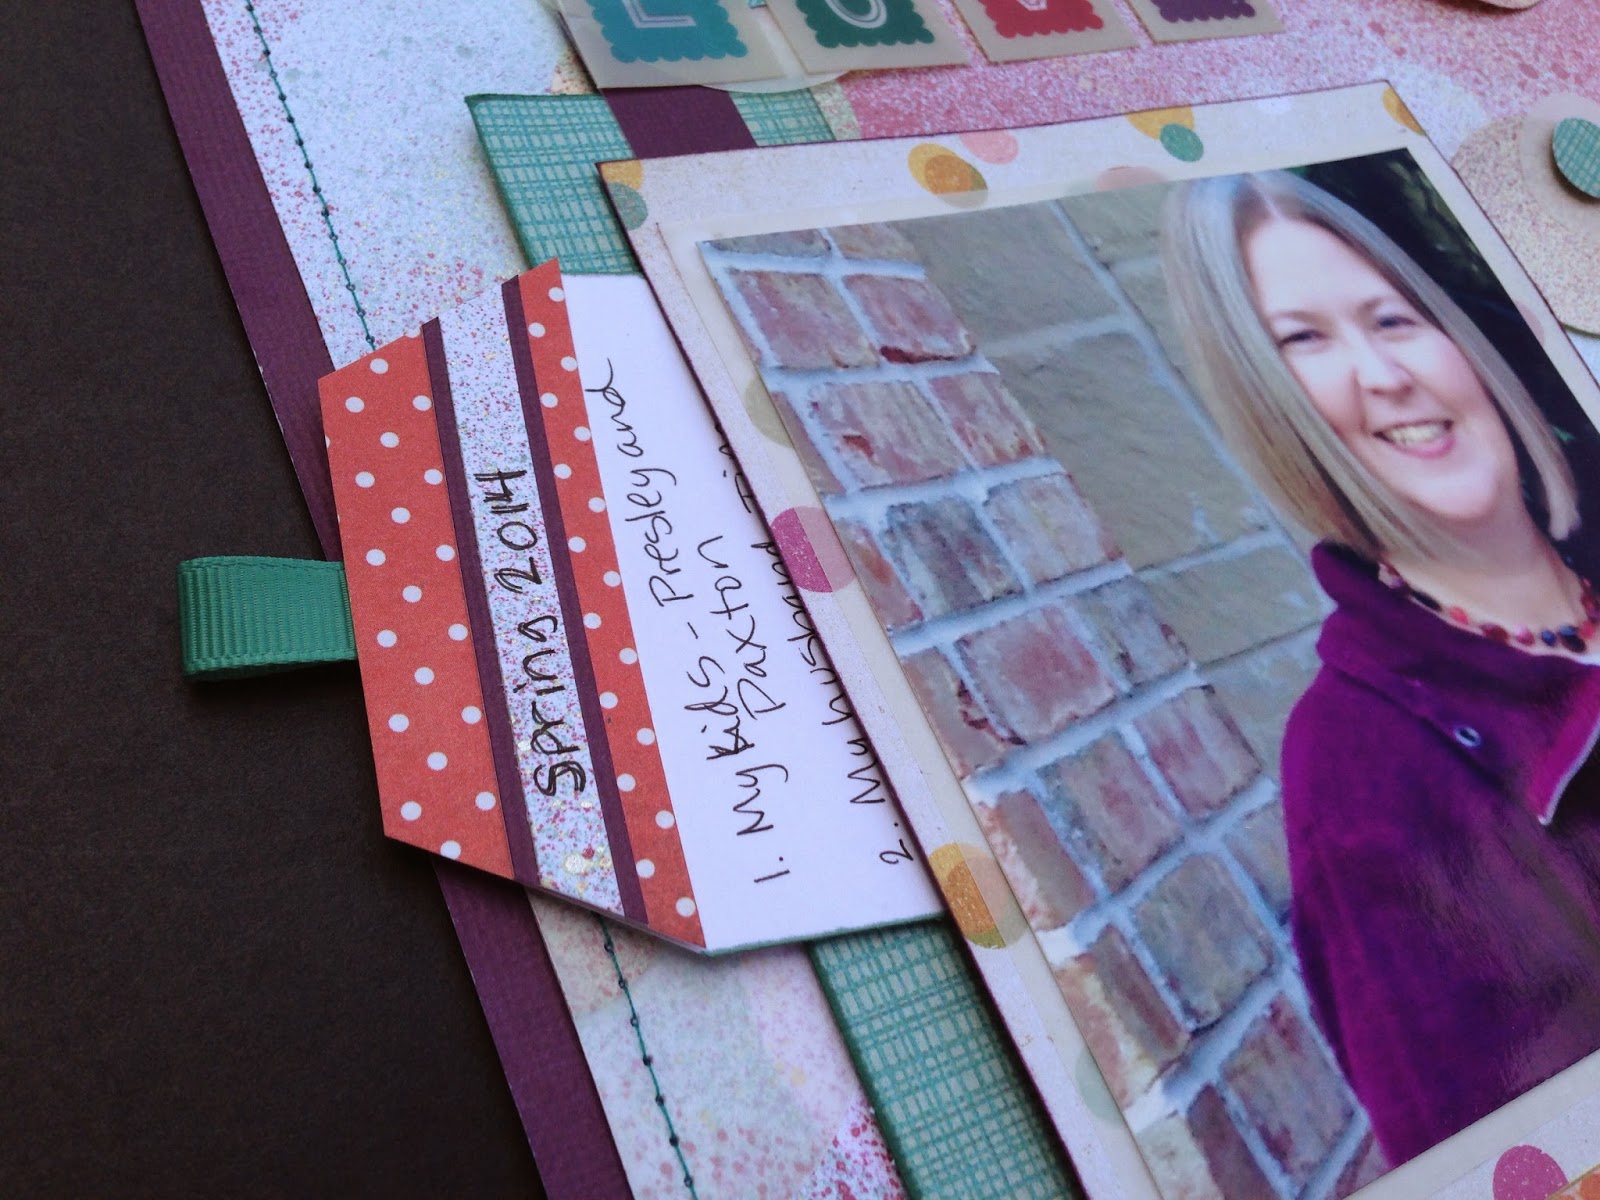
I stitched around the edges of my layout, and then it was ready for my photo, also layered on vellum and bokeh patterned paper.  I created a journaling tag with my 10 favorite things to be hidden behind my photo.


Finally, I created the title using stamps, stickers, and acetate alphas. 


It really was easy, and I hope you try this technique.  If you do, I'd love you to share your project with me in the comments!

Check out the Practical Scrappers blog for other ideas for bokeh.

Please also enjoy the April Scrapping Our Stash blog hop, and have a happy, chocolate-filled Friday!

Majken

Thursday, March 20, 2014

Giveaway! {Paradise} - A Practical Scrappers Scrap Your Stash Blog Hop

Hello and welcome to the Practical Scrappers "scrap your stash" blog hop!!  You should have arrived here from Patty Selah's site (her cards were lovely!).  How about a $20 GIVEAWAY to keep the fun going?  Check out my tropical project and learn more about it at the end of this post.

Today I'm sharing my "Paradise" layout highlighting some photos from a family trip a few years ago.  I used some Bo Bunny "Barefoot & Bliss" stash I saved because the colors just POP - they're gorgeous!  They also go perfectly with tropical and water photos.  I think they also do not need a lot of embellishing, so I kept my layout simple...what do you think?


I started off with my CTMH Outdoor Denim cardstock base, and I used the Bo Bunny hibiscus patterned paper as the main background.  To add dimension, I created a "header" above it.


I started the header with a 1.5" x 9.5" strip of CTMH Lagoon cardstock, and I cut along the full strip with my Martha Stewart fringe scissors.  Above that, I layered a thin strip of the hibiscus paper and a scalloped strip of misted white cardstock.  I stamped the "paradise" definition on the left and adhered it all together.  I faux stitched in white above the header, and I stamped and fussy cut some flowers to layer on the right-hand side.

I layered my two photos over the hexagon patterned paper, distressing the edges, and then layering over CTMH Outdoor Denim cardstock.


I balanced the layout with a footer on the right hand side using a scalloped strip of white cardstock misted with Juniper reinker, which I adhered and did the faux stitching in white below.  I journaled on grid paper stamped 2nd generation with a hibiscus flower stamp, inked the edges, and adhered onto the hexagon paper and Lagoon cardstock.  


I finished the layout adding a button and some raffia palm tied with ribbon to the footer, and adding some gems above the header.  I hope you felt tropical on today's blog hop!


***Giveaway!***
  
I'm giving away one $20 e-gift certificate to the Two Peas in a Bucket online store!

All you have to do is:
  1. Become a member of my blog with Google Friend Connect or Bloglovin AND
  2. Leave a comment on this blog post - would love if you share your favorite spring memory or tradition :)
Easy, peasy!  You have until Monday, March 24, 2014 at 9am CT to enter for your chance to win. International entries are welcome. I will randomly choose one lucky winner and announce it here on my blog on Tuesday, March 25, 2014. Good luck, and thanks for visiting!


Now head over to the very talented Jennifer Haggerty's blog for your next stop.  Isn't her layout FUN?? Those glasses are a hoot!

Monday, January 20, 2014

Cutie Pie Layout

Hello and happy Monday everyone!

I was one of the lucky ones who had today off for MLK, so I decided to take Friday off to make a 4-day weekend.  Can you guess what I did??  If you guessed "scrapped", you'd be correct! A couple of friends and I booked some time at Archiver's (probably our last crop there....so SAD about my favorite store closing).  We cropped all day Friday, left our stuff overnight and went back for a full day on Saturday.  I got three 2-page layouts done (well the 3rd layout was close to done, and I finished it today).  I'm going to show you this 3rd one first...and it's a cute one because it showcases my daughter when she was about 18 months old.  


 I had a ton of fun with this layout!  The chair in the photos matched the BasicGrey RSVP line perfectly!  And I ADORE purple. I then decided to use a sketch to help get my creative juices flowing.  I chose this Scrapbook Circle sketch.  


The sketch is for a single page, so the 2nd page is from my imagination.  I started with the bokeh/confetti paper because that was my favorite in the pack, and I used it as my base for the photos.  I layered a few of the other coordinating papers to place behind the photos and horizontal strip to make sure I liked the combination, and I misted both sides with CTMH Juniper re-inker.  Here is the left page by itself.


After layering my various pieces, I distressed the edges of the pink striped paper, matted the orange-red polka dot paper and the photos with "Velvet" Bazzill cardstock, and then sewed around the horizontal bokeh/confetti papers in the center of the layouts.

I cut the "Cutie" with my Cameo, and used the alpha sticker sheet to spell "Pie" to complete my title.


I decided to add sequins and gems to complement the misting, and I also added a banner in the top left corner.  I punched out the banner pieces from various papers in the pack, and I used some baker's twine to be the base for the banner pieces.


For the small banner/embellishment cluster underneath the photos, I used two banner pieces and a few stickers from the collection.  I finished it off with some baker's twine, a gem, and a sequin.  


For the coordinating page, I continued the bokeh/confetti paper in the center (with the sewing) and layered similar papers to coordinate with the left side.  I used a large circle cutter and cut a circle to layer behind as well.  An additional banner, sequins, gems, and vellum stickers rounded out the layout.


I really hope you enjoyed my layout!  If it inspires you, I'd love you to share it.  

Enjoy, and may your day include chocolate and scrappiness!

Majken

Friday, December 20, 2013

Paxton's 5th Birthday

Hello, hello, and ho ho ho!  We're getting close to the holidays, and I am very happy about that!  I'll be posting some Christmas items soon, but before I do, I wanted to share my layout highlighting Paxton's 5th birthday.  Not sure when he grew up so much!!


Tradition in our family dictates the person with the birthday chooses the birthday restaurant.  In Paxton's case, he saw a coupon come in from Rainforest Cafe, and from that day on, he KNEW that's where we were going.

We enjoyed lunch, and we had the big volcano dessert!  I don't think we finished it...it was HUGE.  We took some photos with the animals and of Paxton wearing his froggy eye hat.  To bring out the green in the photos, I decided to use Basic Grey's Bow Ties paper collection.  The Freeze Tag plaid pattern and Four Square black banner papers worked well.  I started with two sheets of CTMH Colonial White cardstock and after deciding where my photos were going to go, I used the Hazel & Ruby stencil-mask Broadside alpha to spell out "Happy" and the "TH" by the 5 (I cut my 5 with the CTMH Cricut Art Philosophy cartridge) in the top left and bottom right of my layout, respectively.

After the black Glimmer Mist was dry, I cut black cardstock and the Freeze Tag patter at an angle for the top of the left page.  


I layed out the patterned paper strips to see were I wanted them to cross the paper, trimmed them, and adhered them, adding little bits and strips to various places.

Next I used the gold side of the Four Square paper to mat two photos.  I adhered everything down and started to embellish - the fun part, don't you agree?!  I used:

- Heidi Swapp clear-pop tags
- Freckled Fawn Black Arrow paper clips
- CTMH Black buttons, Twilight ribbon, gems, brads, and Color-ready canvas alphas
- Studio Calico Classic Calico 3 Kraft Die-cut Frames
- Miscellaneous stamps
- Maya Road chipboard banners (covered with Basic Grey paper)


After everything was complete, I looked at the layout and decided that the "5" should be added back popped up, so I spritzed it with additional contrasting Juniper reinker mixed with water and used pop dots to adhere it. It's hard to see the green mist in the photo, but it looks really cool popped up!


I hope you enjoyed my layout, and I'd love for you to share it!  Have a wonderful, chocolate-filled holiday!!

Majken