
Today I wanted to share a tutorial on how to fussycut images using the Silhouette PixScan mat. It's fairly easy, and if you have a lot to cut, it can be a huge timesaver!
Note: If you haven't calibrated your PixScan mat for your camera, here's how.
My tutorial will show how I cut the doilies for my Disney World visit with my favorite Hundred Acre Woods friends. So let's get started!
The first thing you want to do will be to place the paper you want to cut onto the PixScan mat. This can be a patterned paper or a paper with stamped images you want to cut. Next, take a photo of it on the mat using the camera you have calibrated. Make sure the entire mat is in the photo - it's okay if there's other stuff in the frame as well (like my black posterboard I had underneath the mat in the photo below). Save the photo in a directory on the same computer where you have Silhouette Studio software.

Next, open Silhouette Studio and choose the "Open PixScan Image".

On the right-hand side, the PixScan menu appears. Choose Import from File, browse to where you saved your PixScan image, and choose it.

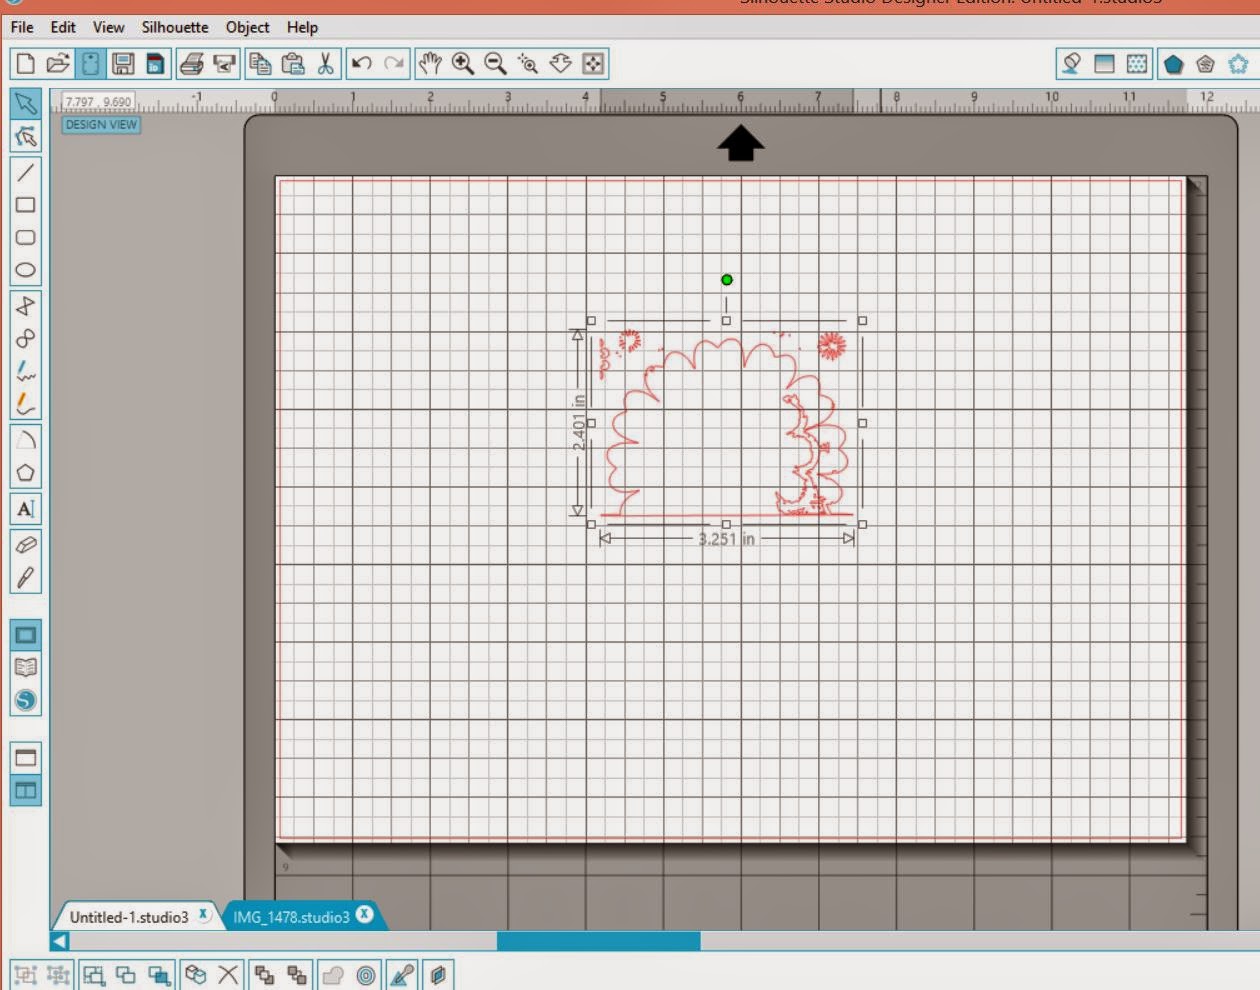
This imports your image and you will see something like this:

Your next step is to open the trace window.

Then select the image you want to trace for cutting.

Next, select High Pass Filter range and the Threshold range to get as smooth and solid a piece as possible for your cutting edge. For this doilie, here's the ranges I had.

Choose "trace outer edge, and then copy the traced area to a new sheet. It may be imperfect, like mine. If so, you will want to zoom in, erase what you don't want cut, and edit the points to clean the trace area.
My imperfect trace:
Here I use the erase tool to get rid of the parts I do not want to cut:

The clean trace image now looks like this:

Once that is complete, select all of the cutting image and choose "Make Compound Path". Copy the full image and go back to the PixScan image screen to paste the cut image back over the part you are going to cut.

Next, if you want a border around your image rather than cutting up against the edge of your image, use the Offset tool. I created an outside offset of .035". In this case, I then cut the bottom part off using the knife and deleted it since it's the edge of the paper and doesn't need to be cut.

After you have finished putting the traced image around the image to cut, repeat this for any other images on the same paper that you want to cut at the same time.
Finally, insert the PixScan mat with the paper you took the photo of in step 1 - make sure you don't move this paper after taking the photo! Choose the "Send to Silhouette" button and adjust your cut settings as needed. The machine will take in the PixScan mat, look for the registration marks and begin cutting your images.
That's it!
This will save you a lot of time and paper, especially the more you cut at one time.
I hope you enjoyed this tutorial!
Majken
No comments:
Post a Comment
Thanks so much for your comments! They give me nearly as many endorphins as chocolate does. :) Don't forget to follow me on Instagram: @chocoscrapaholic