***Go here if you are looking for the April Practical Scrappers blog hop with GIVEAWAY.***
-----
Hello and happy Friday everyone! I get a little twinkle in my eye - a little pep in my step - when Friday rolls around! It always seems a little bit festive, even at work. :)
Today I have a project to showcase the Bokeh trend. If you aren't sure what "bokeh" is, let's fix that! Bokeh is a Japanese word that translates literally as "blur" and means "the visual quality of the out-of-focus areas of a photographic image, especially as rendered by a particular lens." That effect you see when you take photos of your Christmas tree lights? That is bokeh. Today I'll show you a quick way you can create that effect on paper -- no lens required! So fun!
You will need only a few simple tools!
Paper
Circle punches, various sizes
Vellum
Spray Ink
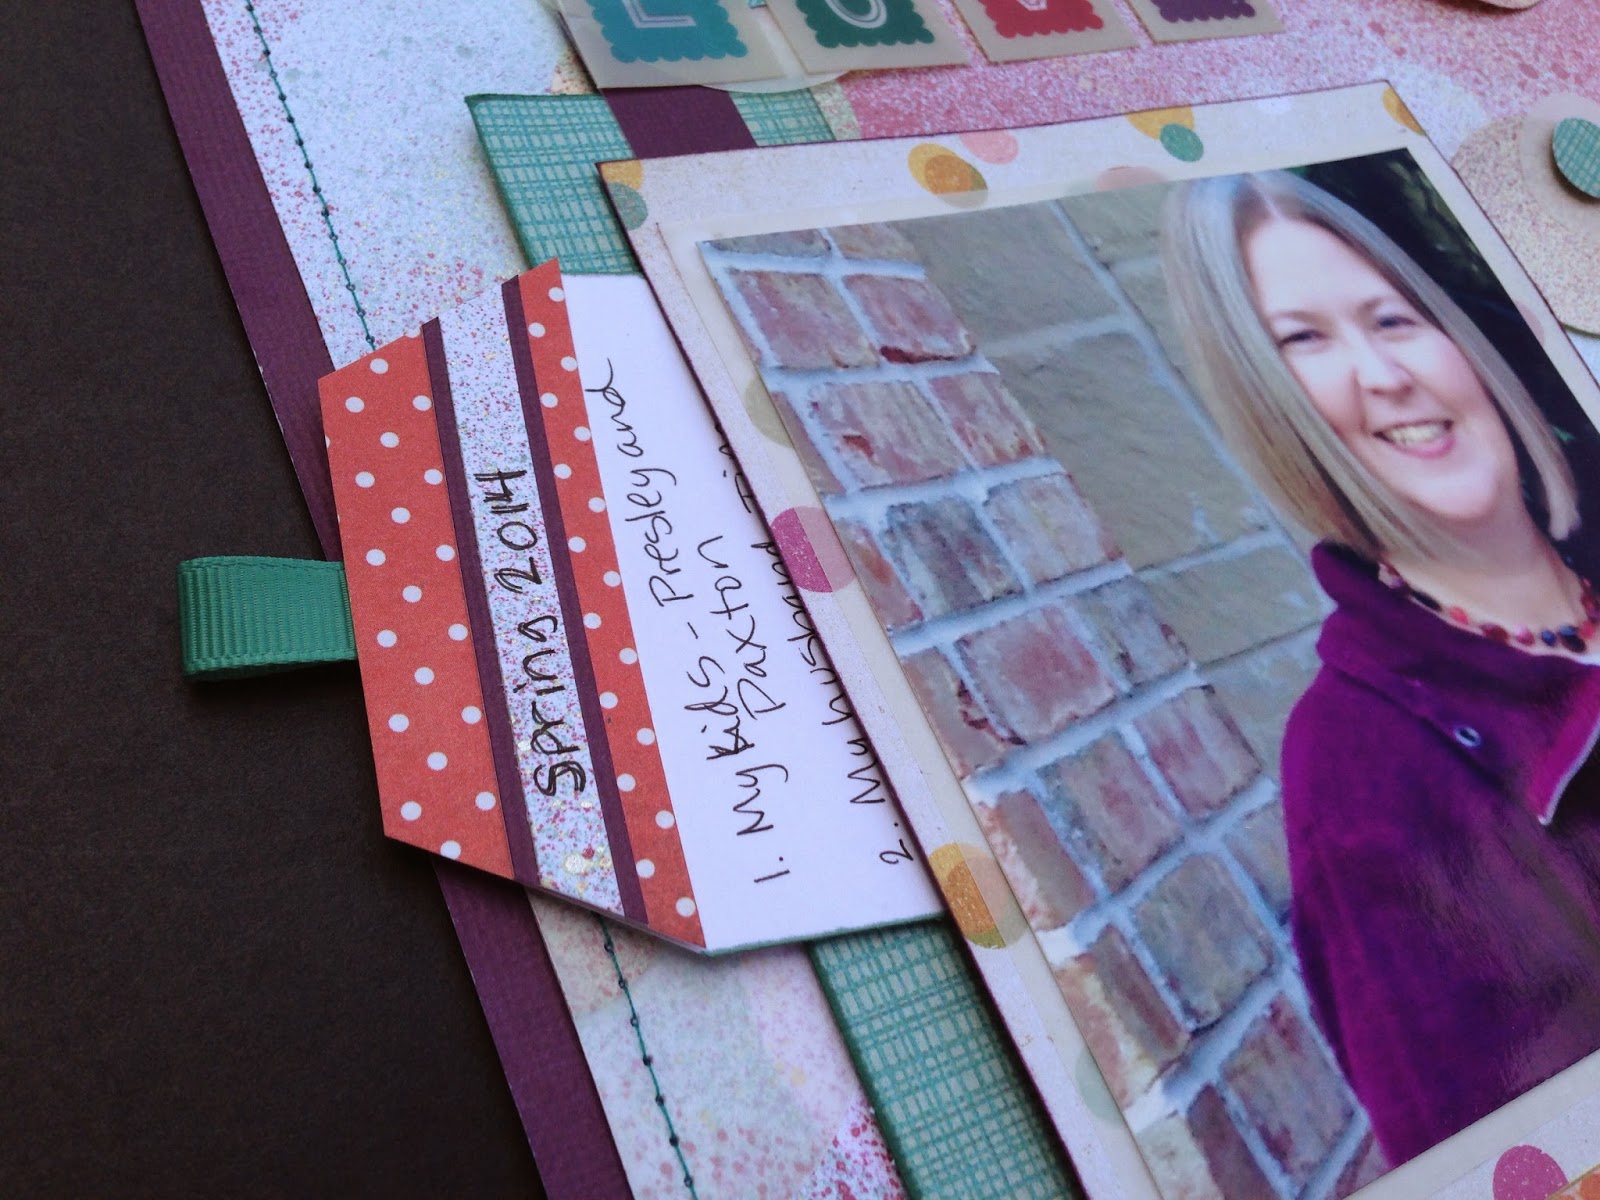
For this layout, I used the Basic Grey "RSVP" collection to create a layout about "Ten Things I Love". (I love this collection...did you see my Cutie Pie layout using it?) I don't normally focus on myself, but I want to make sure some things about me are documented with my family's memories.
I took a blank piece of Colonial White cardstock and trimmed it 1/2" on each side, layering it on top of purple cardstock. I cut several circles in a few different sizes using Colonial White cardstock, patterned paper, and vellum. I put the cardstock circles around the page in various places -- I overlapped some of them -- and spritzed with sunflower ink. After it dried, I moved the circles around and spritzed again with Juniper ink. I repeated the process and spritzed last using Pansy Purple ink. This gave me the base layer of spritzed circles. Then I layered the spritzed cardstock circles and the vellum and patterned paper circles around the base page, popping a few up slightly with glue dots.
I stitched around the edges of my layout, and then it was ready for my photo, also layered on vellum and bokeh patterned paper. I created a journaling tag with my 10 favorite things to be hidden behind my photo.
Finally, I created the title using stamps, stickers, and acetate alphas.
It really was easy, and I hope you try this technique. If you do, I'd love you to share your project with me in the comments!
Check out the Practical Scrappers blog for other ideas for bokeh.
Please also enjoy the April Scrapping Our Stash blog hop, and have a happy, chocolate-filled Friday!
Majken


Wow, I love how you used vellum to add to that blurred look! This is wonderful!
ReplyDelete